Connection without Using an Access Point (Windows XP)
(Appears in a new window)
-
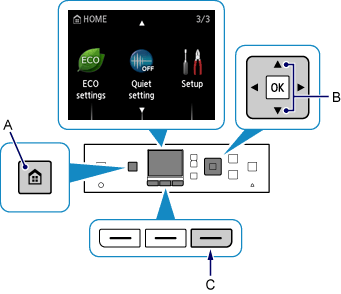
Press the HOME button (A) on the printer, use the
 or
or  button (B) to display Setup, then press the right Function button (C).
-
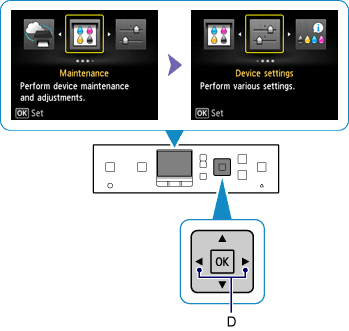
Use the
 or
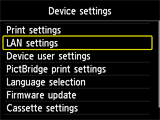
or  button (D) to select Device settings, then press the OK button.
-
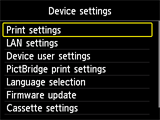
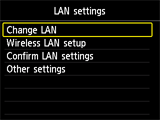
Select LAN settings, then press the OK button.

-
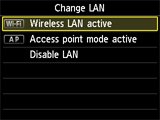
Select Change LAN, then press the OK button.
-
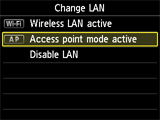
Select Access point mode active, then press the OK button.

-
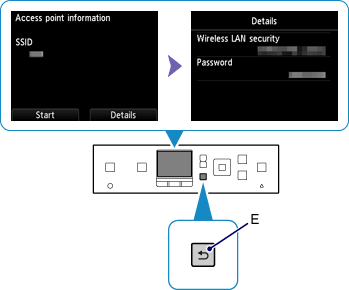
Check the SSID displayed in the printer screen.
-
Press the right Function button, check the Password (network key), then press the Back button (E).
You will use the SSID and Password (network key) in the subsequent steps.
-
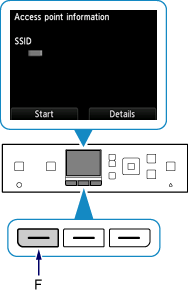
Press the left Function button (F).
-
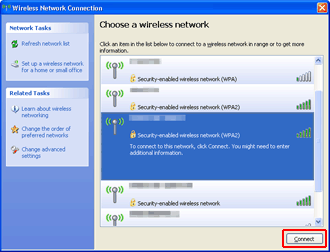
Right-click the Wireless Network Connection icon in the notification area of the taskbar on the computer, then select View Available Wireless Networks.

-
Select the network name (SSID) you want to use, then click Connect.
-
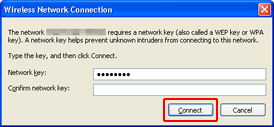
Enter the Password (Network key), then click Connect.
-
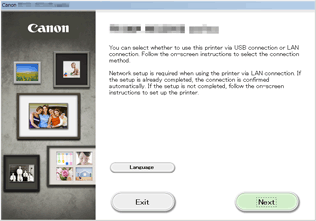
When connection is complete, click Back until the screen below appears.
Proceed with the setup.